Headlight Makeover 101: Polishing Car Headlights Guide.
Headlights are often the unsung heroes of our vehicles, guiding us through dimly lit roads and ensuring our safety during nighttime travels. However, over time, these essential components can lose their clarity, becoming clouded by dirt, oxidation, and UV exposure. In this comprehensive guide, we will delve into the art of headlight restoration and provide you with practical tips on how to polish car headlights effectively. Whether you're a seasoned car enthusiast or a novice DIYer, mastering the techniques of headlight polishing can significantly enhance both the aesthetics and functionality of your vehicle.
Understanding Headlight Deterioration
Before diving into the polishing process, it's essential to understand why headlights deteriorate over time. Exposure to ultraviolet (UV) rays from the sun, road debris, and environmental pollutants can cause the plastic covering of headlights to degrade, resulting in a cloudy or yellowed appearance. Not only does this detract from the visual appeal of your vehicle, but it also compromises the effectiveness of your headlights, reducing visibility during nighttime driving.
Preparing for the Makeover
Embarking on a headlight makeover requires proper preparation and the right set of tools. Before initiating the polishing process, gather essential materials such as microfiber cloths, sandpaper of varying grits, polishing compounds, and protective gloves. Additionally, assess the current condition of your headlights to determine the extent of damage and the level of restoration required. Prioritize safety by wearing protective gear and ensuring adequate ventilation in your workspace to minimize exposure to harmful fumes.
Step-by-Step Polishing Process
Now that you're equipped with the necessary tools and knowledge, let's delve into the step-by-step process of polishing your car headlights to restore their clarity and functionality.
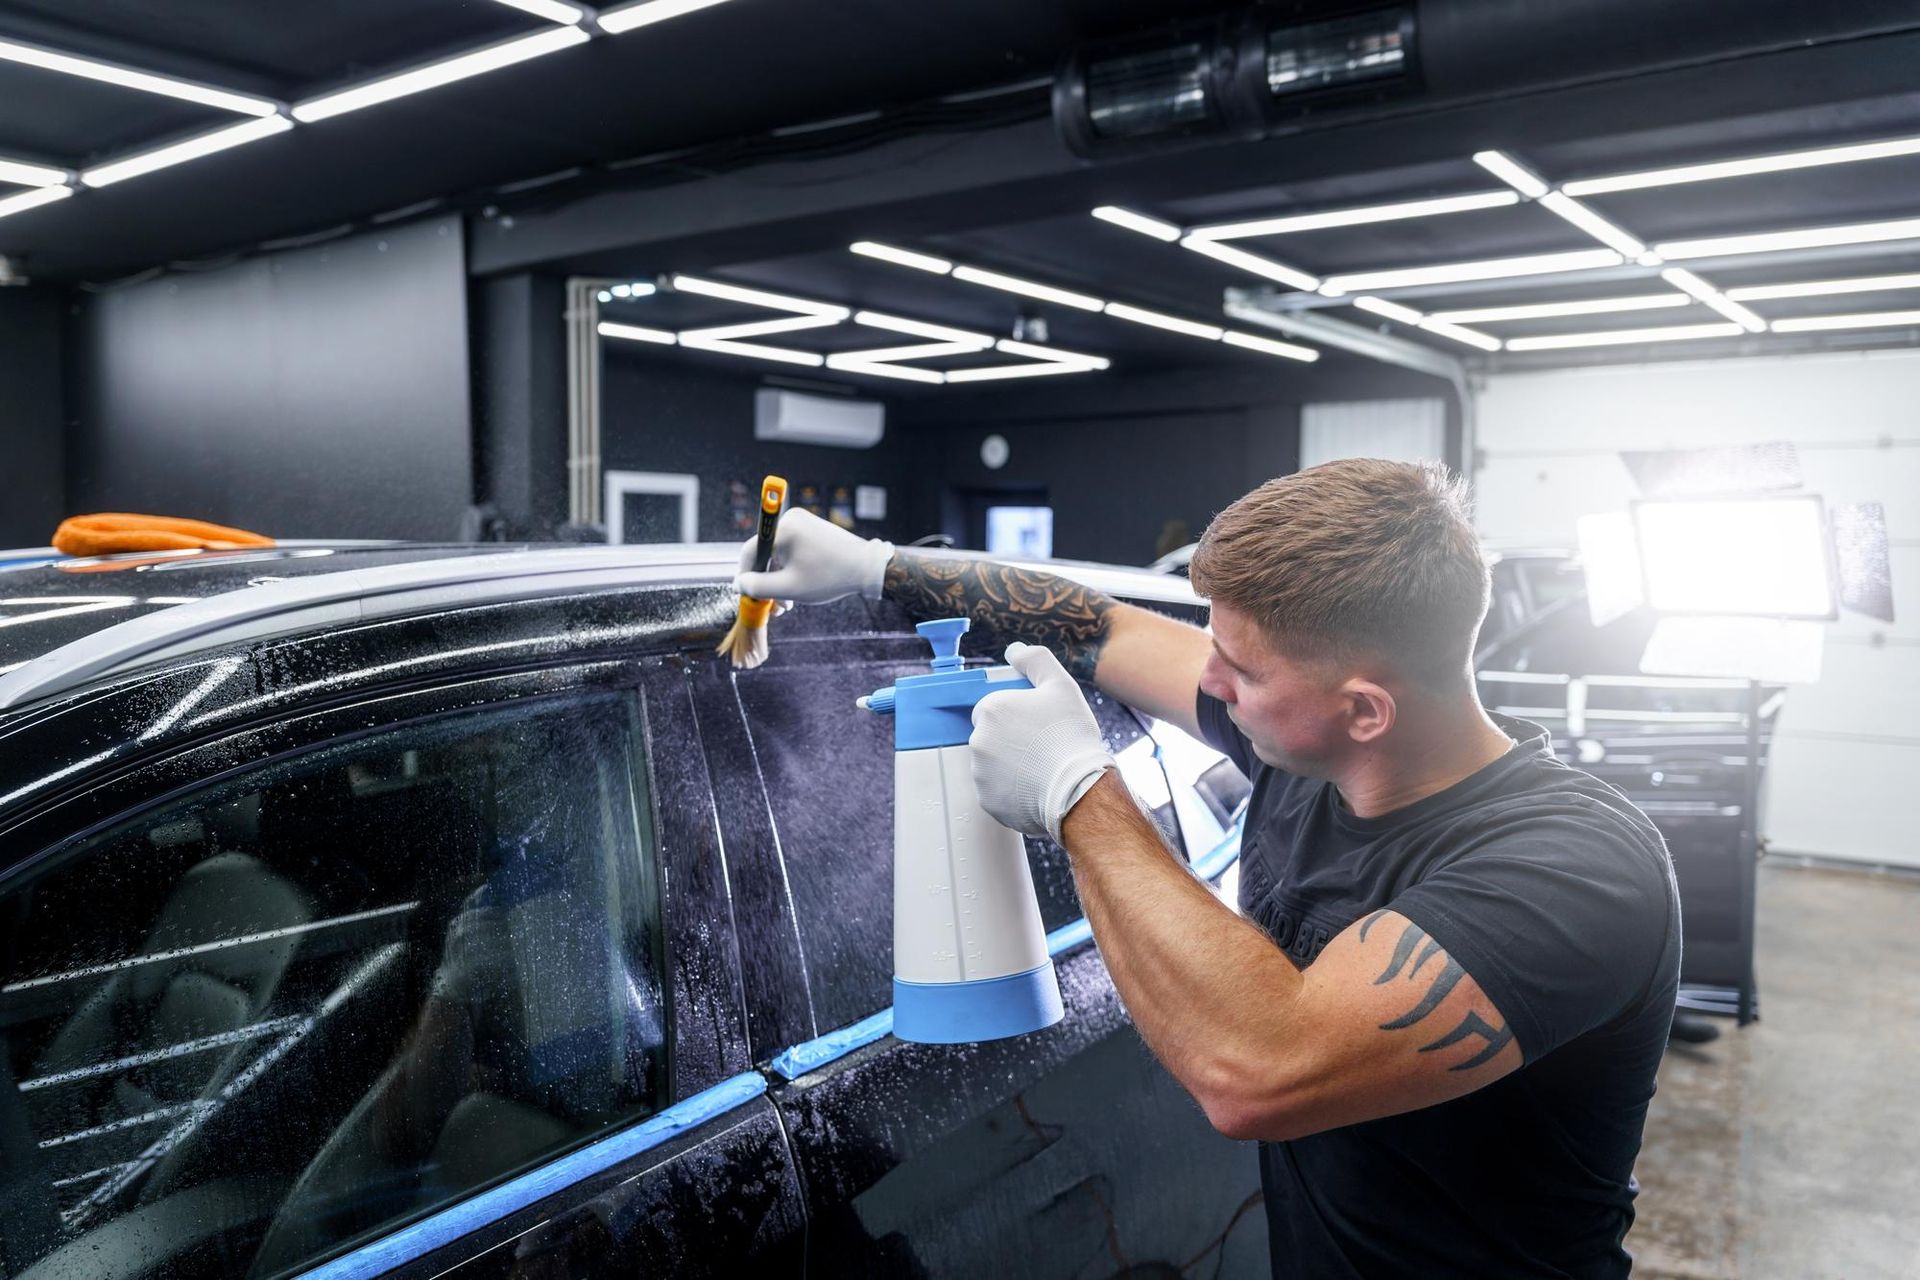
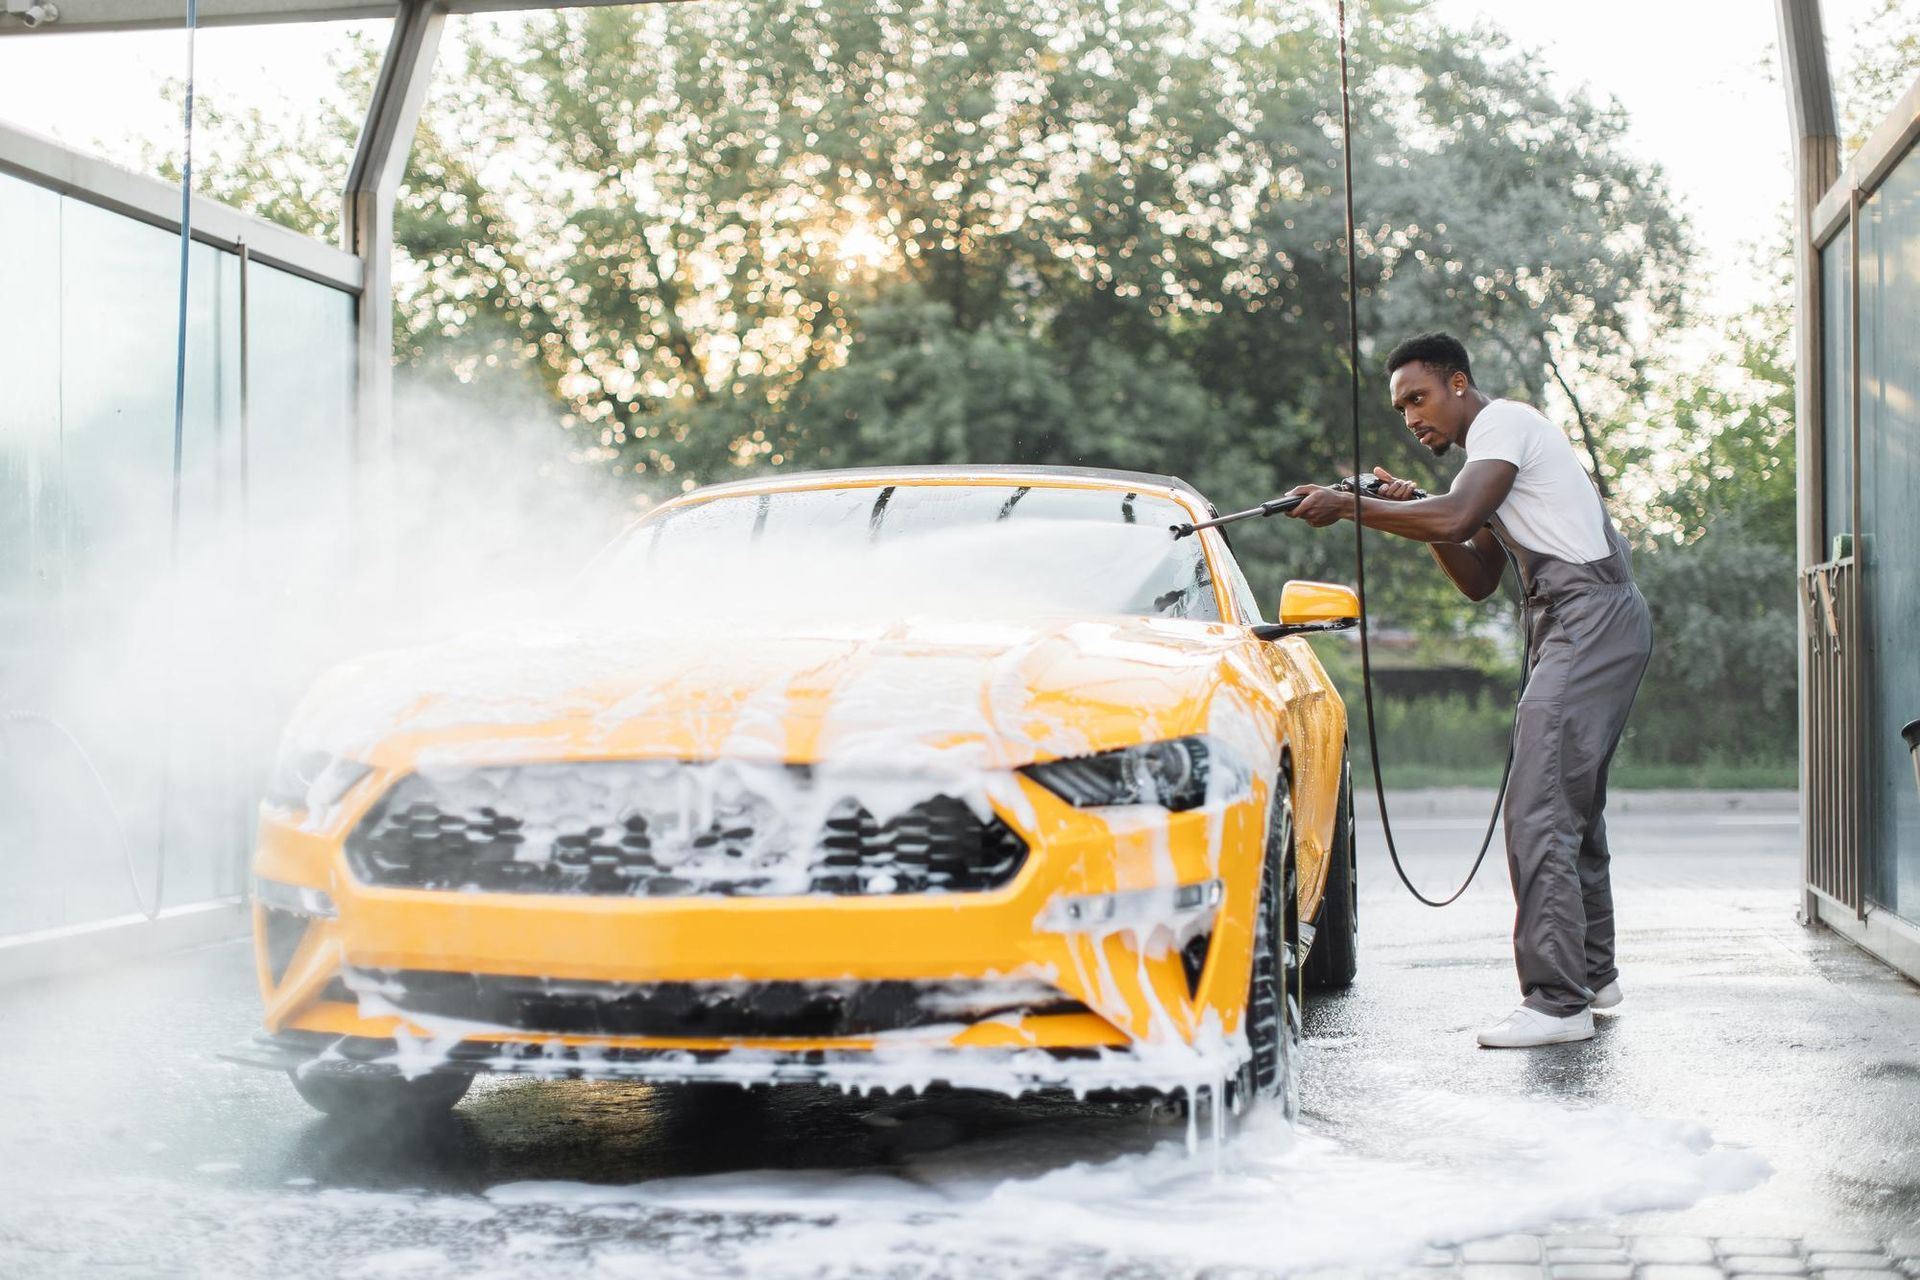
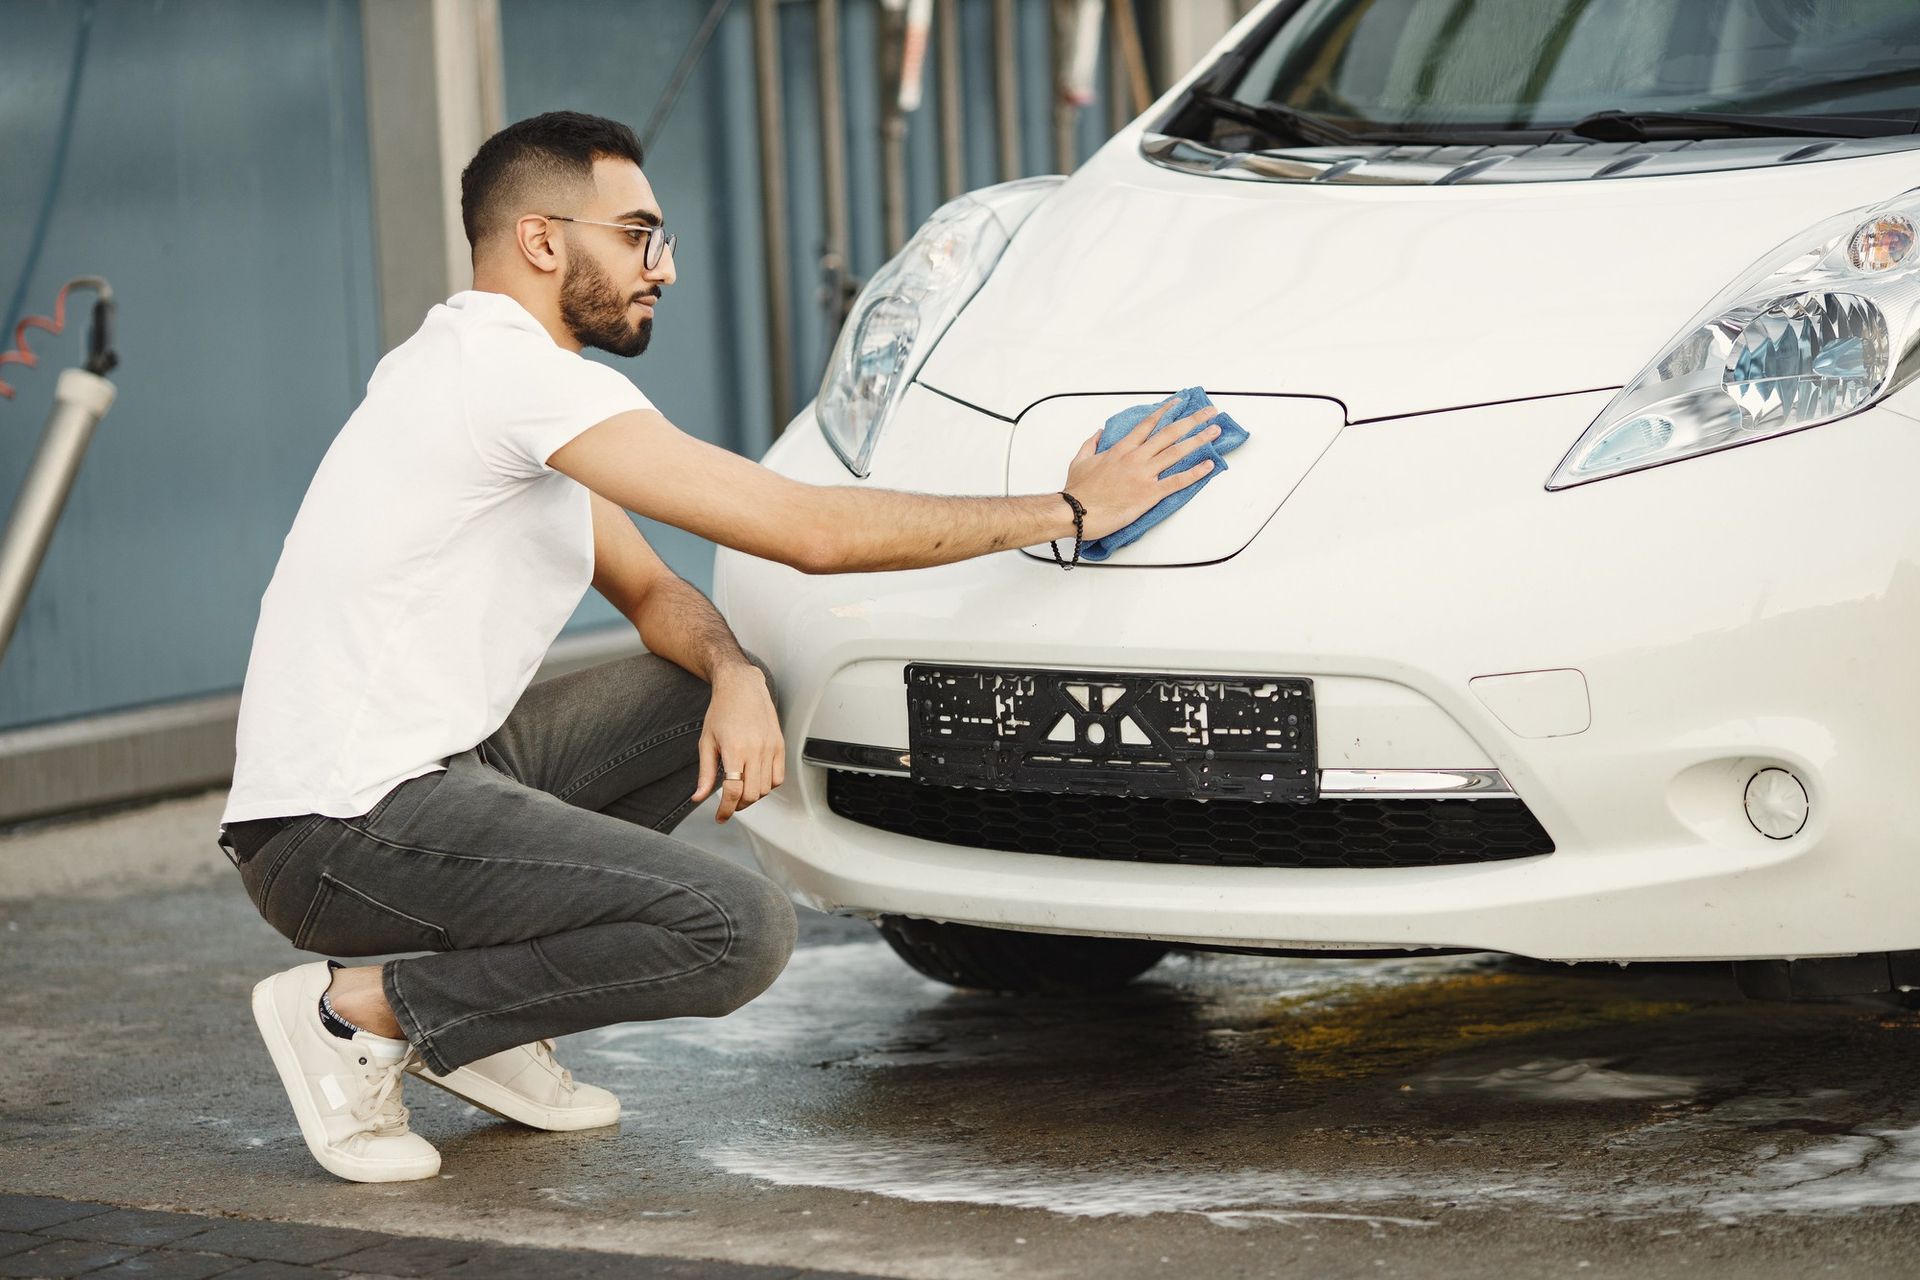
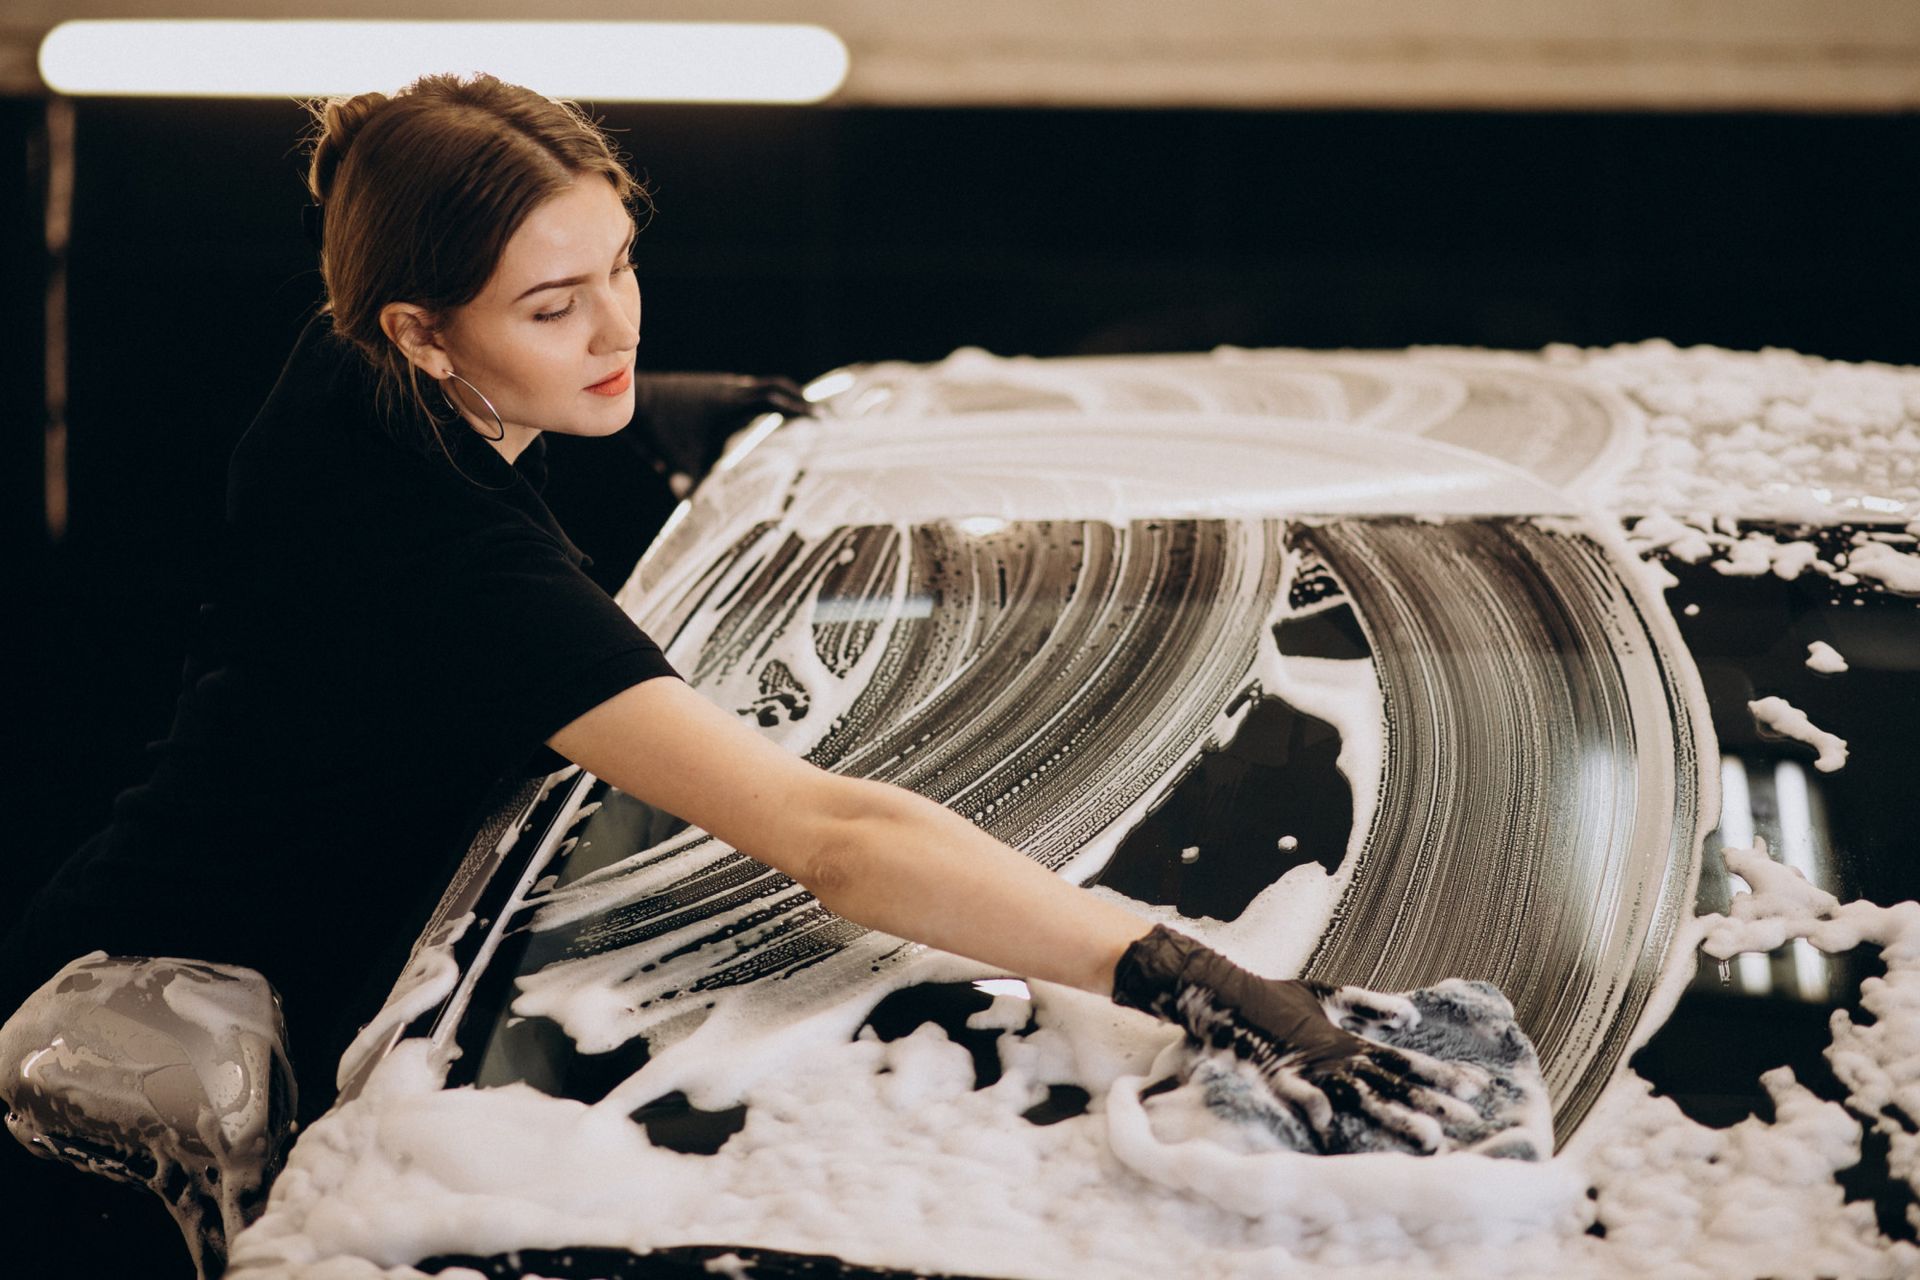
- Thorough Cleaning: Before initiating the polishing process, it's crucial to ensure that your headlights are free from dirt, grime, and other surface contaminants. Start by washing the headlights with a mild automotive soap and water solution. Use a soft sponge or microfiber cloth to gently scrub the surface and remove any stubborn debris. Rinse thoroughly and allow the headlights to dry completely before proceeding to the next step.
- Surface Preparation: Once the headlights are clean and dry, it's time to assess the extent of damage and prepare the surface for polishing. Inspect the headlights for signs of oxidation, yellowing, or scratches. Depending on the severity of the damage, you may need to use sandpaper of varying grits to smooth out imperfections and create a uniform surface for polishing. Begin with a coarser grit (e.g., 800) to remove stubborn oxidation, then gradually transition to finer grits (e.g., 1500, 2000) for a smoother finish.
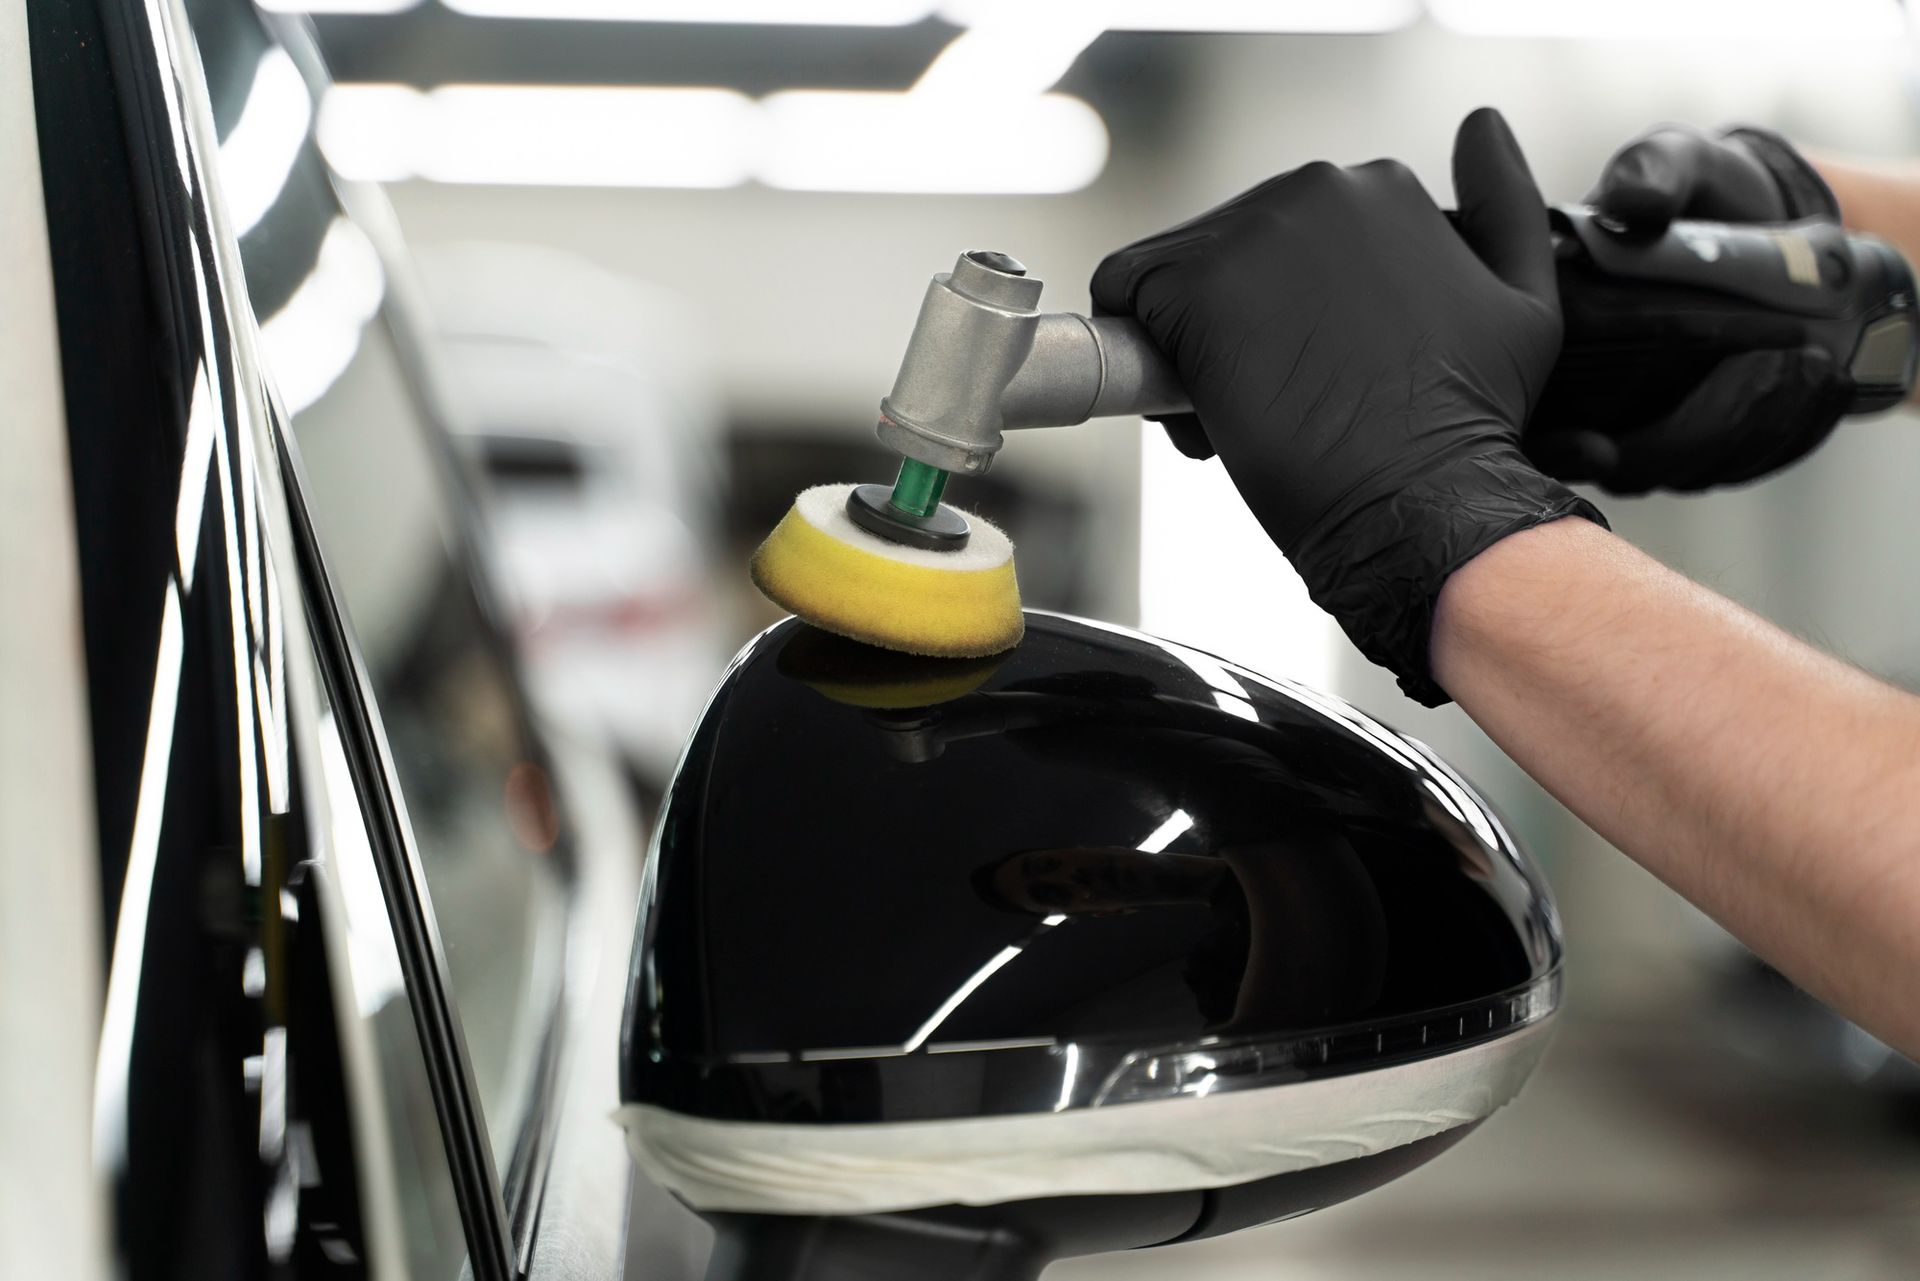
- Application of Polishing Compound: With the headlights properly prepped, it's time to apply a high-quality polishing compound or restoration kit to restore clarity and shine. Choose a reputable product specifically designed for automotive use, preferably one that contains abrasive particles to effectively remove surface imperfections. Apply a small amount of the polishing compound to a clean, soft cloth or foam applicator pad. Work the compound onto the headlight surface using circular motions, applying gentle pressure to ensure thorough coverage.
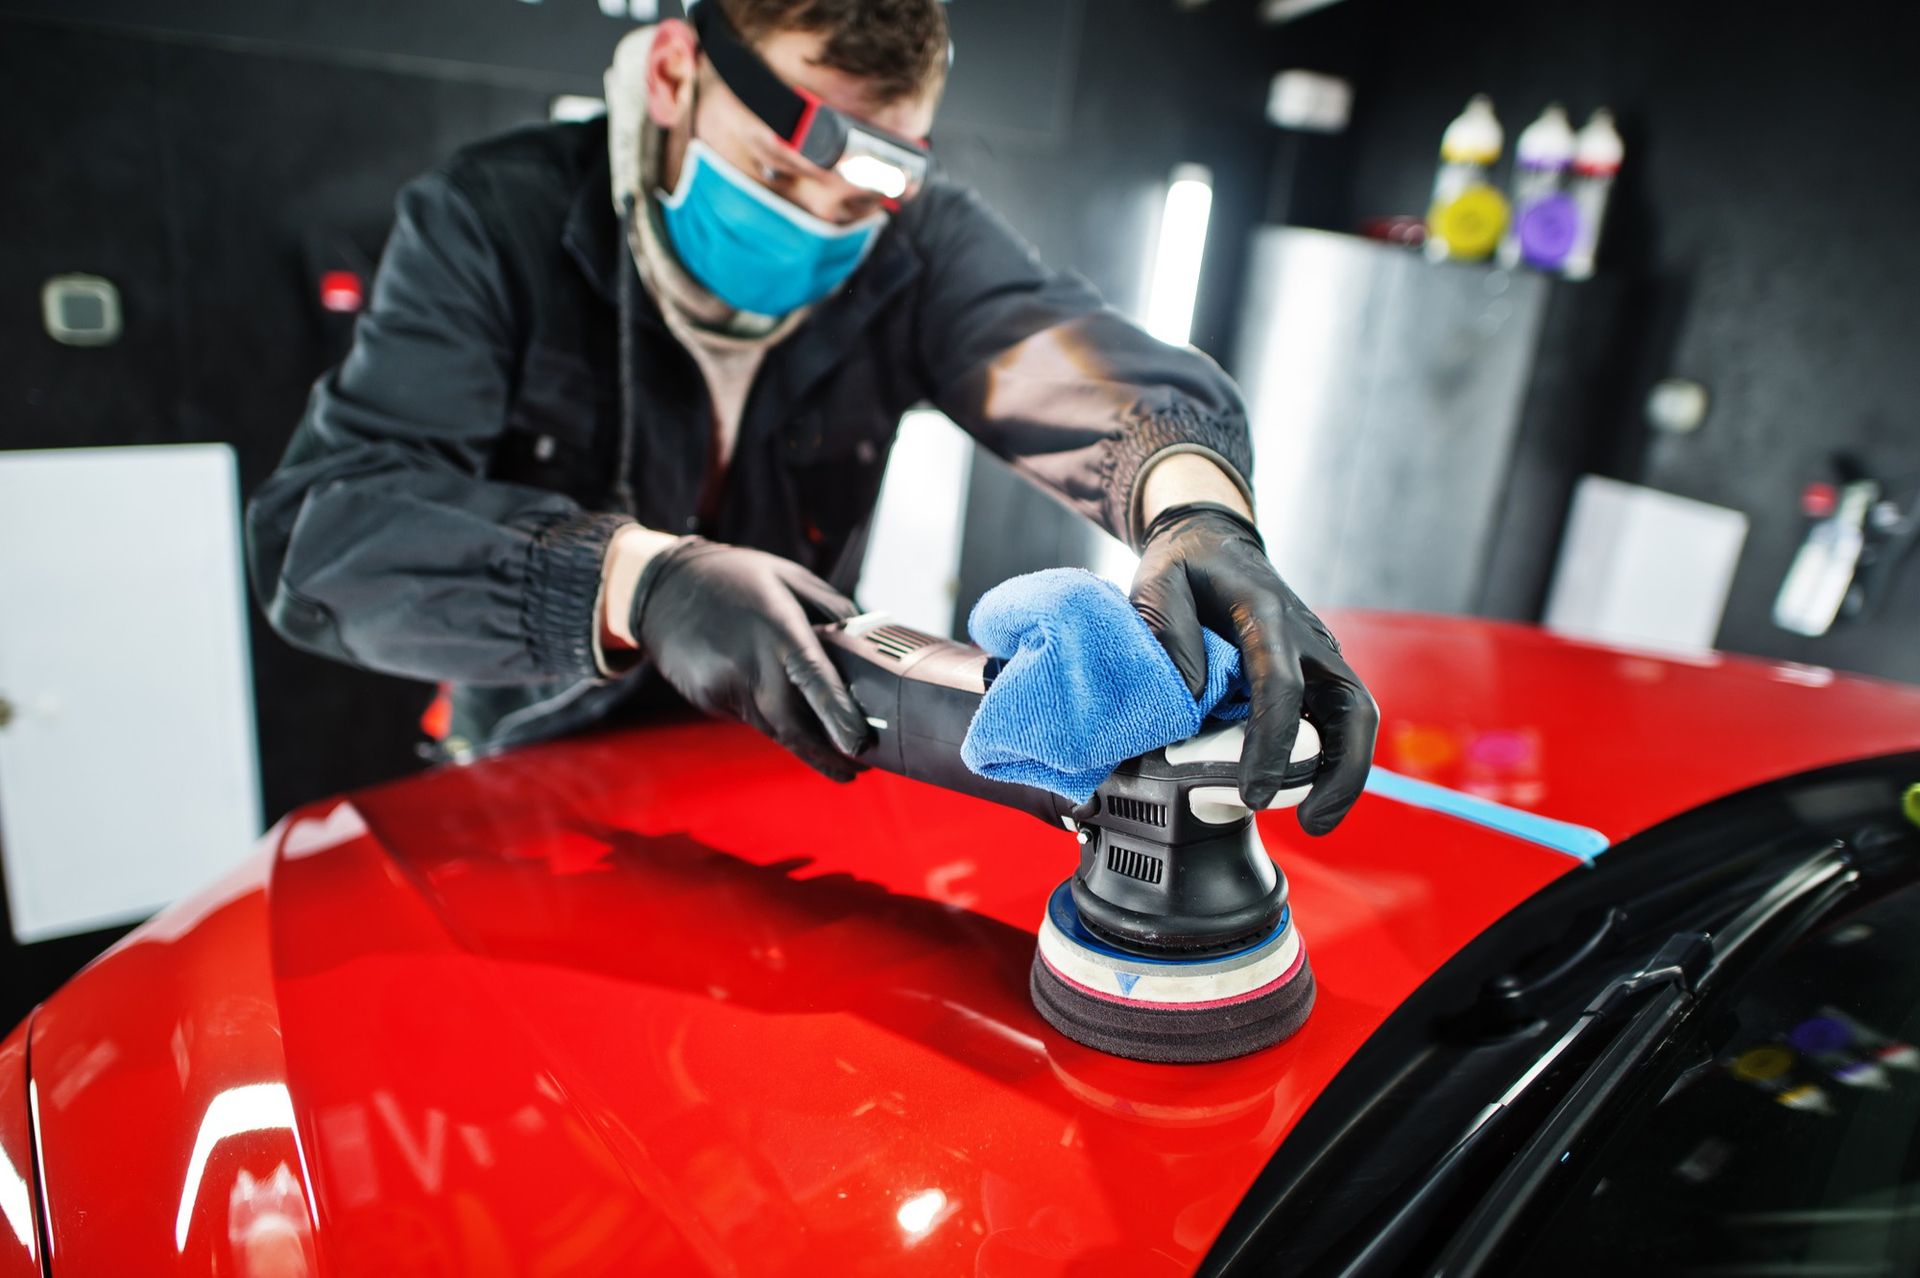
- Buffing and Polishing: Once the polishing compound has been applied, it's time to buff and polish the headlights to a glossy finish. Using a clean microfiber cloth or buffing pad, buff the headlight surface in overlapping circular motions, gradually working your way across the entire area. This process helps to remove any residual oxidation or haze and reveals the underlying clarity of the headlights. Continue buffing until the desired level of shine is achieved, periodically inspecting the headlights for uniformity and clarity.
- Final Inspection and Touch-Ups: After completing the polishing process, take a moment to inspect the headlights from different angles and light conditions. Look for any areas that may require additional touch-ups or refinement. If you encounter stubborn stains or blemishes, you can repeat the polishing process or use specialized products to address specific issues. Once satisfied with the results, wipe down the headlights with a clean, dry cloth to remove any excess residue and admire the transformation.
By following these step-by-step instructions and exercising patience and attention to detail, you can achieve professional-quality results and restore the clarity and functionality of your car headlights. Remember to prioritize safety throughout the process, wear protective gear, and work in a well-ventilated area to minimize exposure to fumes and airborne particles. With dedication and the right techniques, you can breathe new life into your headlights and enjoy enhanced visibility and aesthetics on the road ahead.
Advanced Techniques and Tips
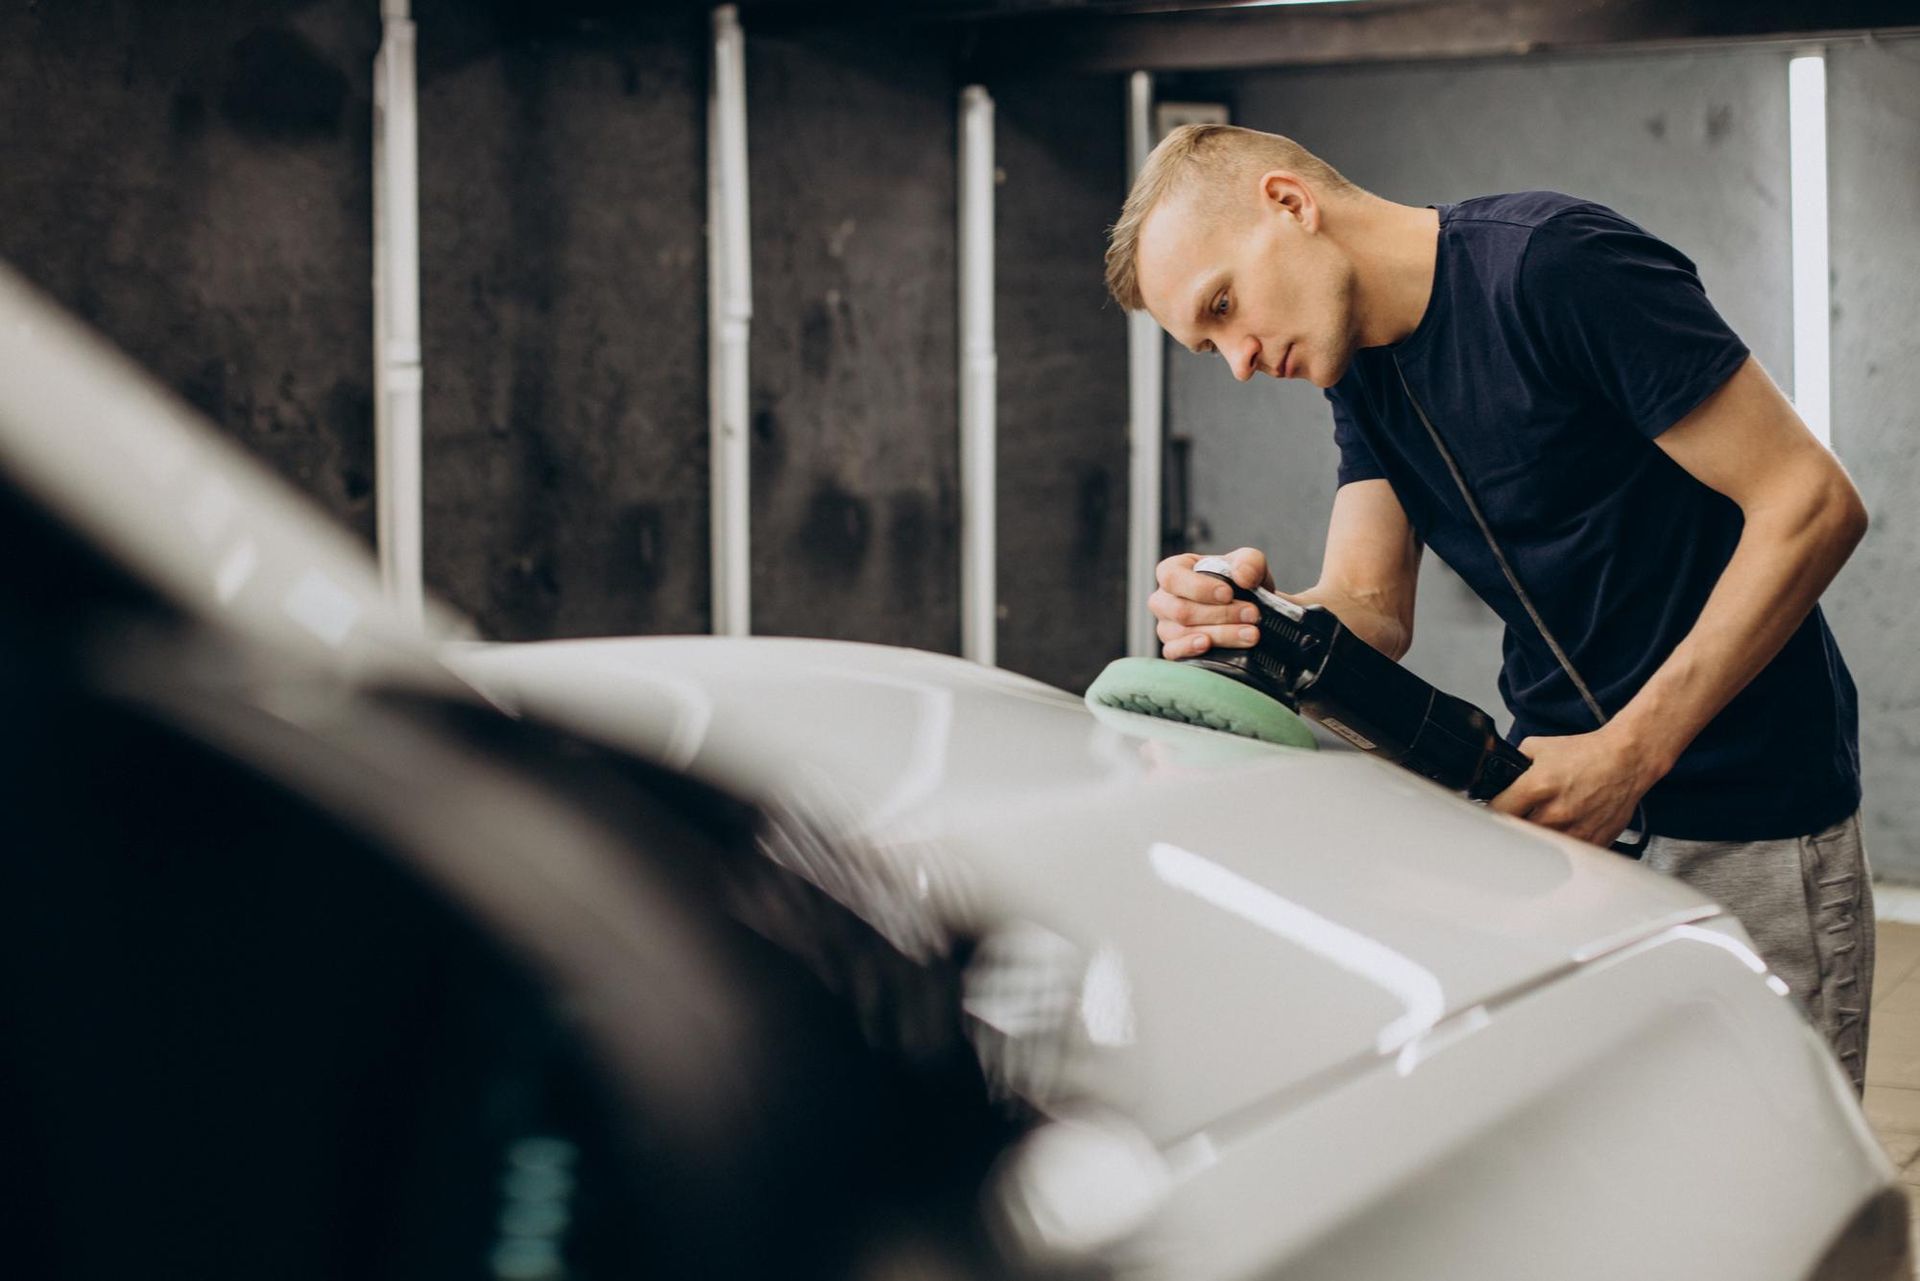
For those seeking to take their headlight restoration skills to the next level, consider exploring advanced techniques and tools available in the market. Investing in a high-quality polishing machine can expedite the restoration process and yield professional-grade results. Additionally, experiment with specialized products designed to address specific issues such as deep scratches or discoloration. Remember to exercise caution and follow manufacturer instructions when using advanced equipment or chemical solutions to avoid causing further damage to your headlights.
Troubleshooting Common Issues
Despite your best efforts, you may encounter common issues during the headlight polishing process. Uneven results, streaking, or hazy finishes can occur due to improper technique or inadequate preparation. If faced with these challenges, don't be discouraged. Instead, reassess your approach, make necessary adjustments, and continue refining your skills. For more stubborn problems or extensive damage, consider seeking professional assistance from auto detailing experts who can offer specialized solutions tailored to your specific needs.
Post-Makeover Care and Maintenance
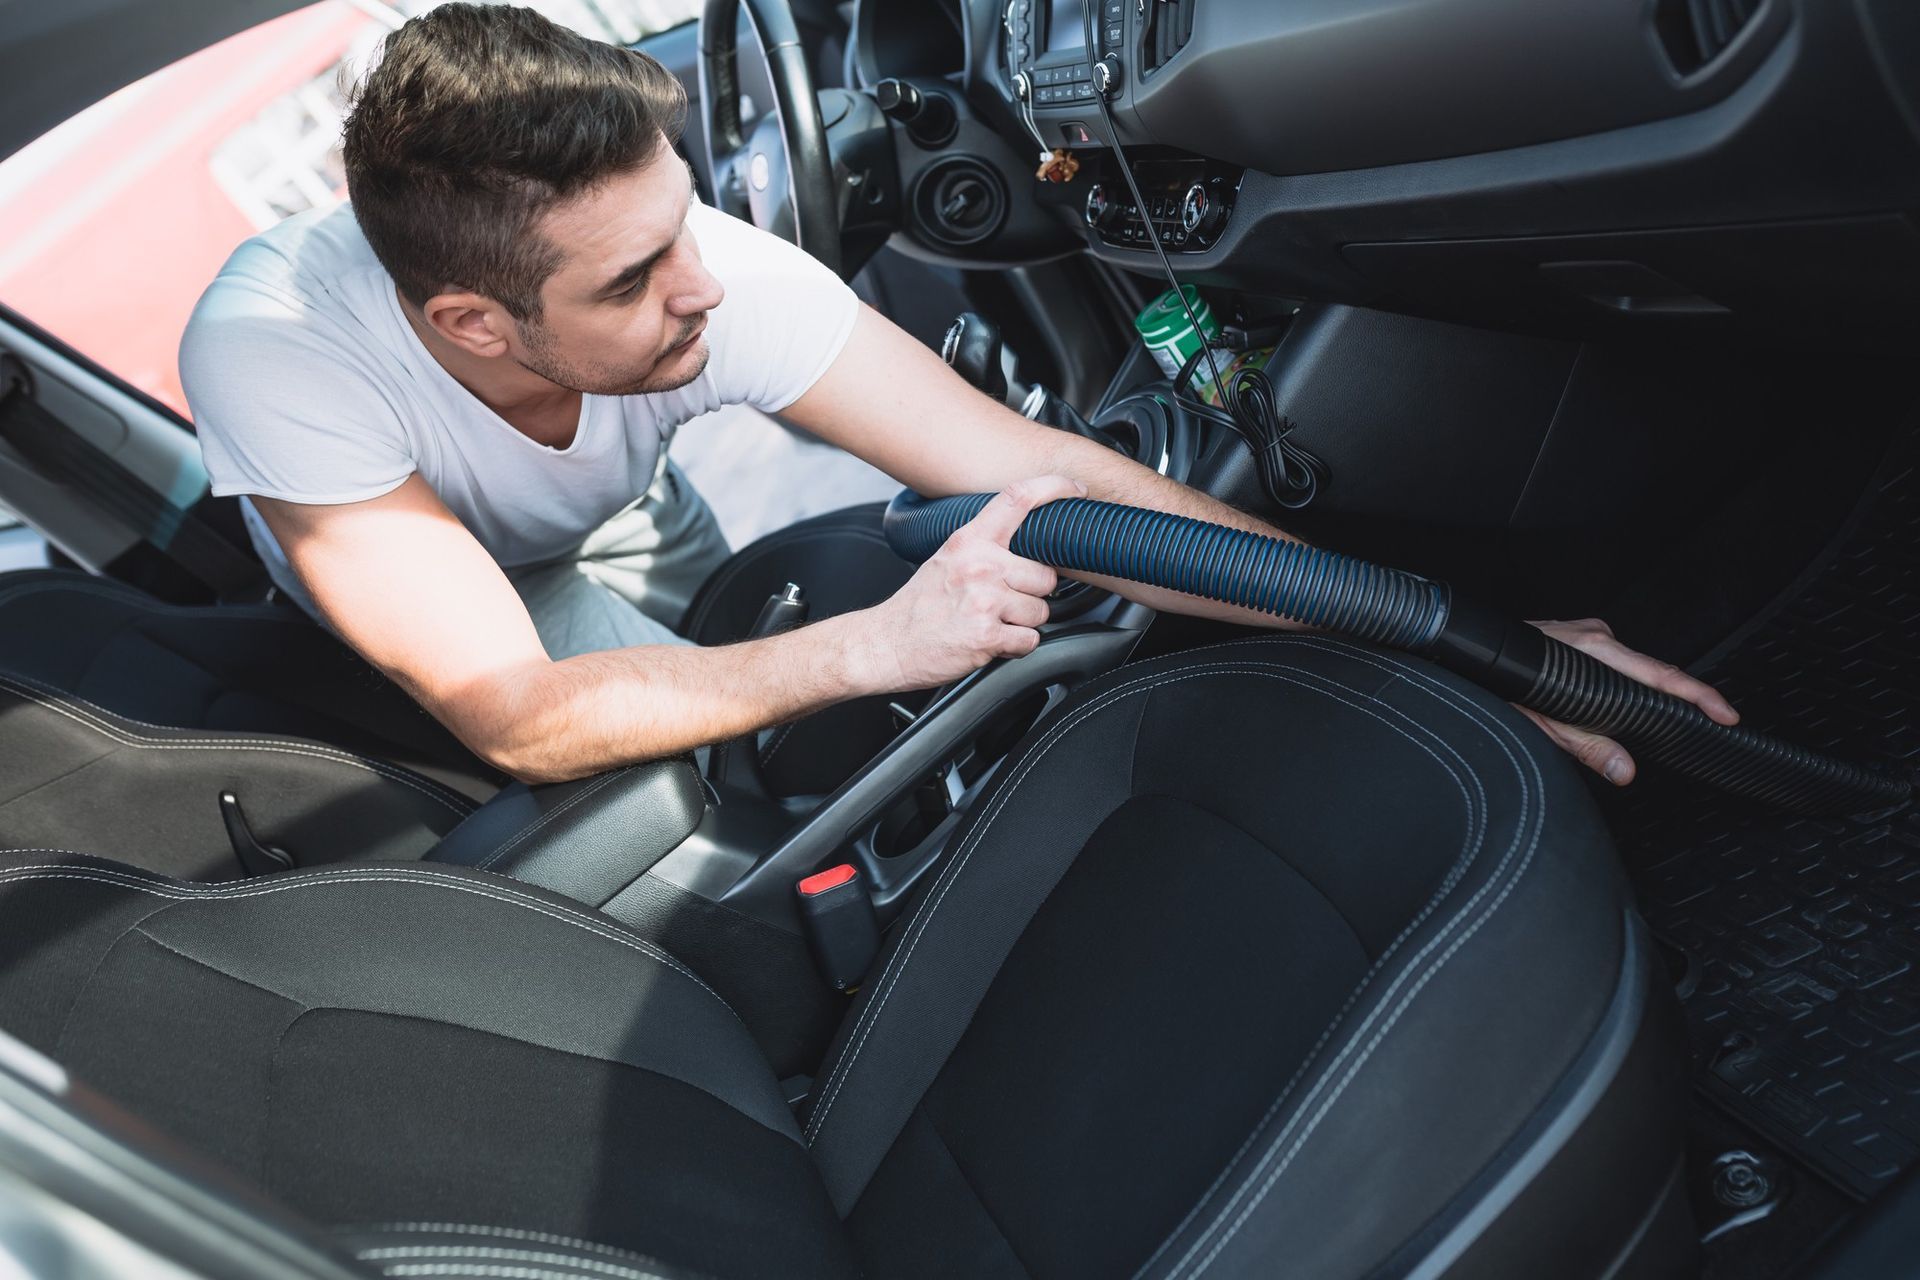
Congratulations! You've successfully transformed your headlights from dull to dazzling, but the journey doesn't end here. To prolong the clarity and longevity of your newly restored headlights, implement a routine maintenance schedule. Regularly clean the headlights using mild soap and water to remove dirt and debris. Consider applying protective coatings or sealants to shield the headlights from future UV damage and environmental hazards. By incorporating these simple yet effective maintenance practices, you can ensure that your headlights remain crystal clear and reliable for miles to come.
Conclusion
In conclusion, mastering the art of headlight polishing is not only a rewarding endeavor but also a practical investment in your vehicle's safety and aesthetics. By following the step-by-step guide outlined in this article, we can learn how to polish car headlights with confidence and precision. Remember to prioritize safety, exercise patience, and embrace the process as an opportunity to enhance the overall appearance and performance of your vehicle. With dedication and the right techniques, you can achieve stunning results that illuminate the road ahead and leave a lasting impression on every journey.
For those seeking professional assistance or convenience in Naples, FL, we recommend
Naples Car Wash as the best service provider for headlight polishing and automotive detailing. You can reach them at
239-774-4400 to schedule an appointment and experience their exceptional services firsthand. Let Naples Car Wash help you restore the brilliance of your headlights and elevate the overall look of your vehicle.
FAQ’s